Saturday, October 21, 2023

Zany Zoo accordion fun fold card

Goodbyes are sad, especially if you’ve just recently connected with someone in your neighborhood that you saw regularly and always said hi to, but just found that connection. So when there was a small gathering to wish her well, I offered to make a card we could all sign. And I knew immediately that I wanted to use the Zany Zoo set. Why? Because it has a bunch of zoo “characters” that represent (possible) people in our neighborhood! There’s a knitting llama (yes you read that right!), a fox zooming by on a scooter, a hippo ballerina, a bear sitting in a comfy chair reading, a sloth in a yoga post, a hippo wearing a tutu on point, a skunk bird watching, a turtle singing…need I go on? Here’s a photo of the adorable paper pack:


The tough part was finding a card design that would allow me to show off several of the animal characters. I decided on an accordion fold and put panels on the front and back of each accordion fold. Then I had to decide which characters to use! And this is what I came up with and how the front of the card turned out:


Here’s the second “page”


And the third:


Because this card was from a group of people, I hoped that the zany zoo caricatures would coincidentally represent several of us signing the card (and I already knew there was a professional artist among us)… So then on the back, there was room to sign the card and a simple sentiment I printed from my computer. 

For the card base, I used a double sided 12x12 card stock from my stash so if you’re wondering, it is indeed blue on one side and fuchsia on the other!

This was a fun card to make and everyone was amazed! That’s why I love making cards …unique, one-of-a-kind cards for special people and their memorable moments. I sometimes don’t have the time, or the inspiration….but when I can,  I sure do love it!

Thanks for stopping by…


Tuesday, October 17, 2023

Layering Leaves Thank you card


I always take craft supplies with me when we travel as there’s always some down time in the evenings especially. These cards are ones that I made during one of our camping trips. I often overthink things and want to add another element but when I’m crafting away from home, my supplies are limited and I have to settle with what I brought with me. Still, I did like the way these cards turned out, though I wish I had packed my die cutting machine and an embossing folder! These cards use the Layering Leaves stamp set and coordinating Bough Punch. The stamp set has 4 different options for the leaves so I tried two of them. Here I stamped one design of leaves then watercolored it lightly to spread the ink color throughout the leaves. Then I stamped on a scrap piece of paper and punched the design out. The little pink berries or stems with little flowers have a coordinating stamp as well but I decided to just punch them out without further details. 


I stamped the same leaves on the background of the second card then I simply punched the leaf shape from a plain cardstock, adding once again the little spray of berries/flowers.


Not sure which I prefer…I rather like them both! Which is your choice?


Saturday, October 14, 2023

Sakura (cherry blossom) treat holders

A dear friend gifted me with a stack of blank treat boxes a while back. They sat on my desk for a while…I wasn’t sure what I’d do with them. And then suddenly, I had an idea: decorate them with cherry blossoms! Here is what they ended up looking like:


I stacked them on little plastic trays so they’d stay neat for display as well as for transport! Twenty five in all! Here are the adorable packages that I was gifted:


And next is a photo of the punches that I used for each of the components:


Some of these punches are admittedly pretty old! On the left is the Strawberry Builder punch (I used the small flower). The middle punch is one that coordinates with the Sprinkles of Life stamp set from years back.  And on the right is the Small Bloom punch.

I played with the pieces to position them like so:


And then another flower blossom on top! 


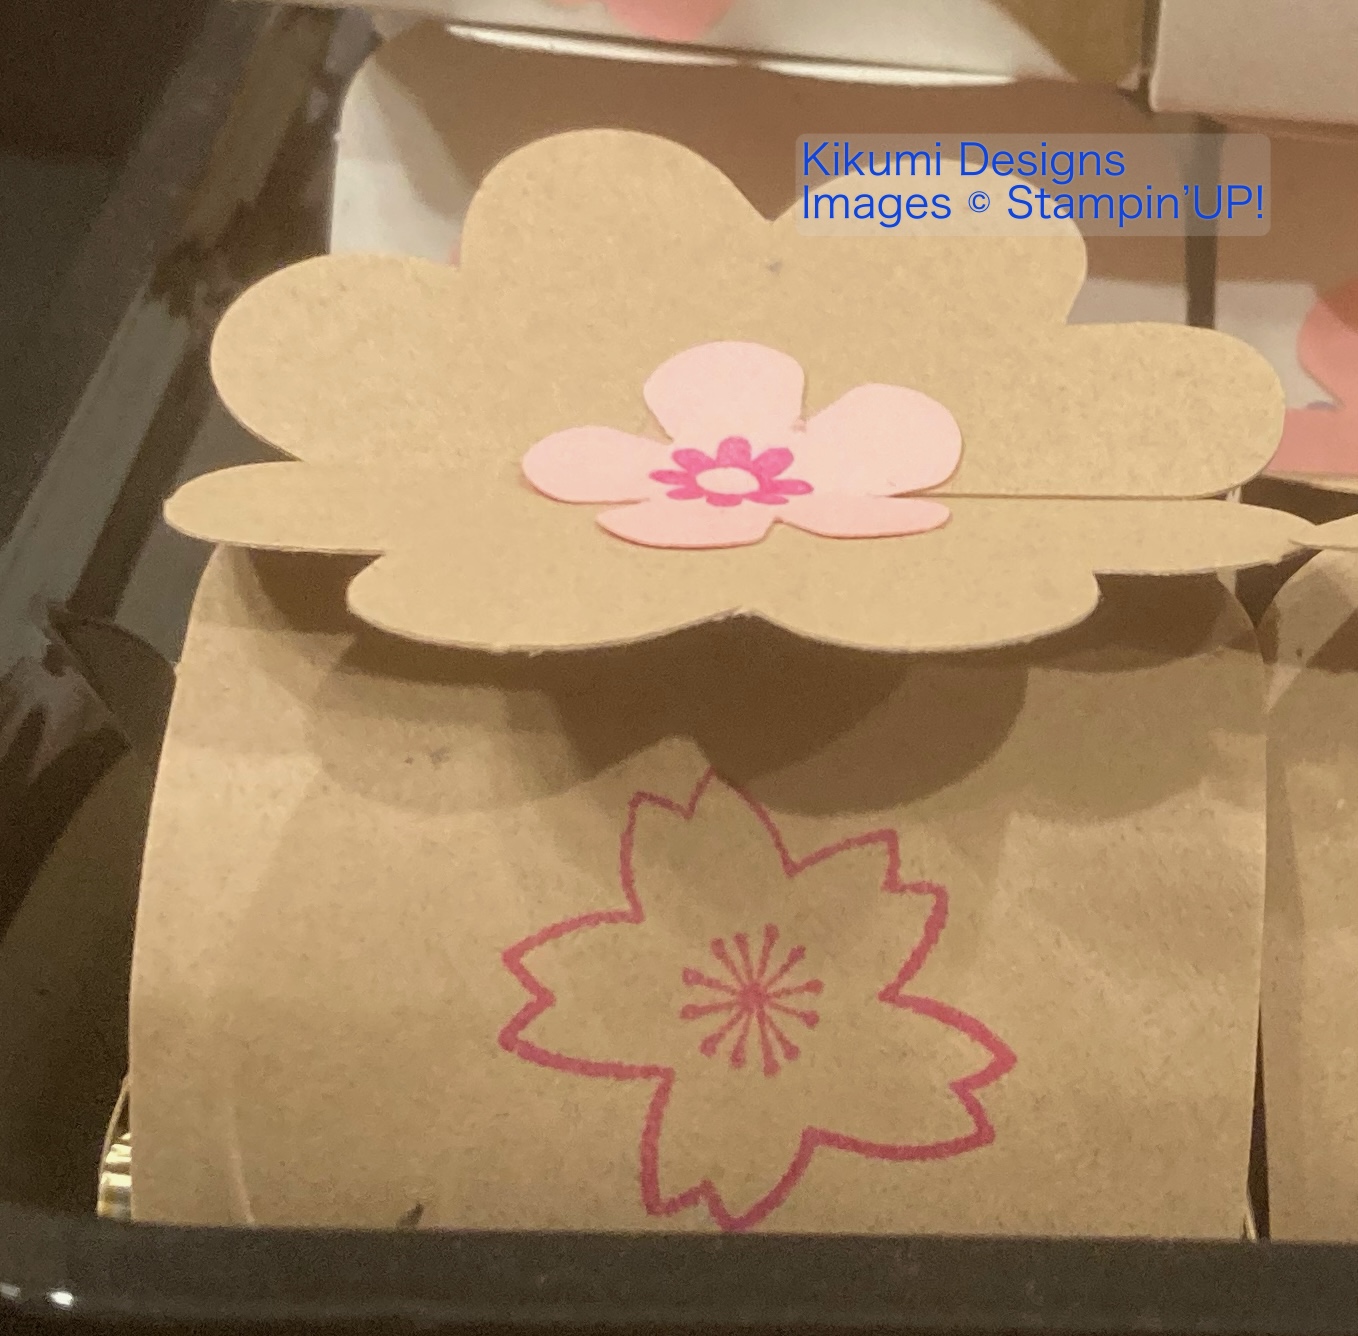
And the “back” panel looked comparatively plain, so I stamped a cherry blossom from my stash of stamps:


Last but not least, I put a mini Boba Mochi package in each. What fun it was to create these treat holders! I donated them to the kids table at Obon…


Lovely & Beautiful DSP fun fold

A shoutout of thanks to Rachel Tessman for her tutorial on this card design. It looks like a horizontal book binding card but when you open ...